

Local Technicians
Tile Roof Repair
Your Trusted, Quality, Local Roofing Specialists!
Call 24/7:
878-213-4952Call Now:
878-213-4952
Reliable & On-Time Roofers
Same-Day & Emergency Help
Free, No-Obligation Quotes
Fast, Reliable and Affordable

Return to Page
Enter Your Zip Code:
Thank you! Your submission has been received!
Oops! Something went wrong while submitting the form.
Return to Page
More Matches For You:
Top-Notch Tile Roofers
Fast & Free Quotes
Call us to receive a fast and free no-obligation roofing quote on any installation, replacement or repair.
Licensed & Insured
Rest assured knowing our roofers have years of training and our work is 100% guaranteed.
Emergency Services Available
Roofers are available to fix any issues today! We are open 24/7.
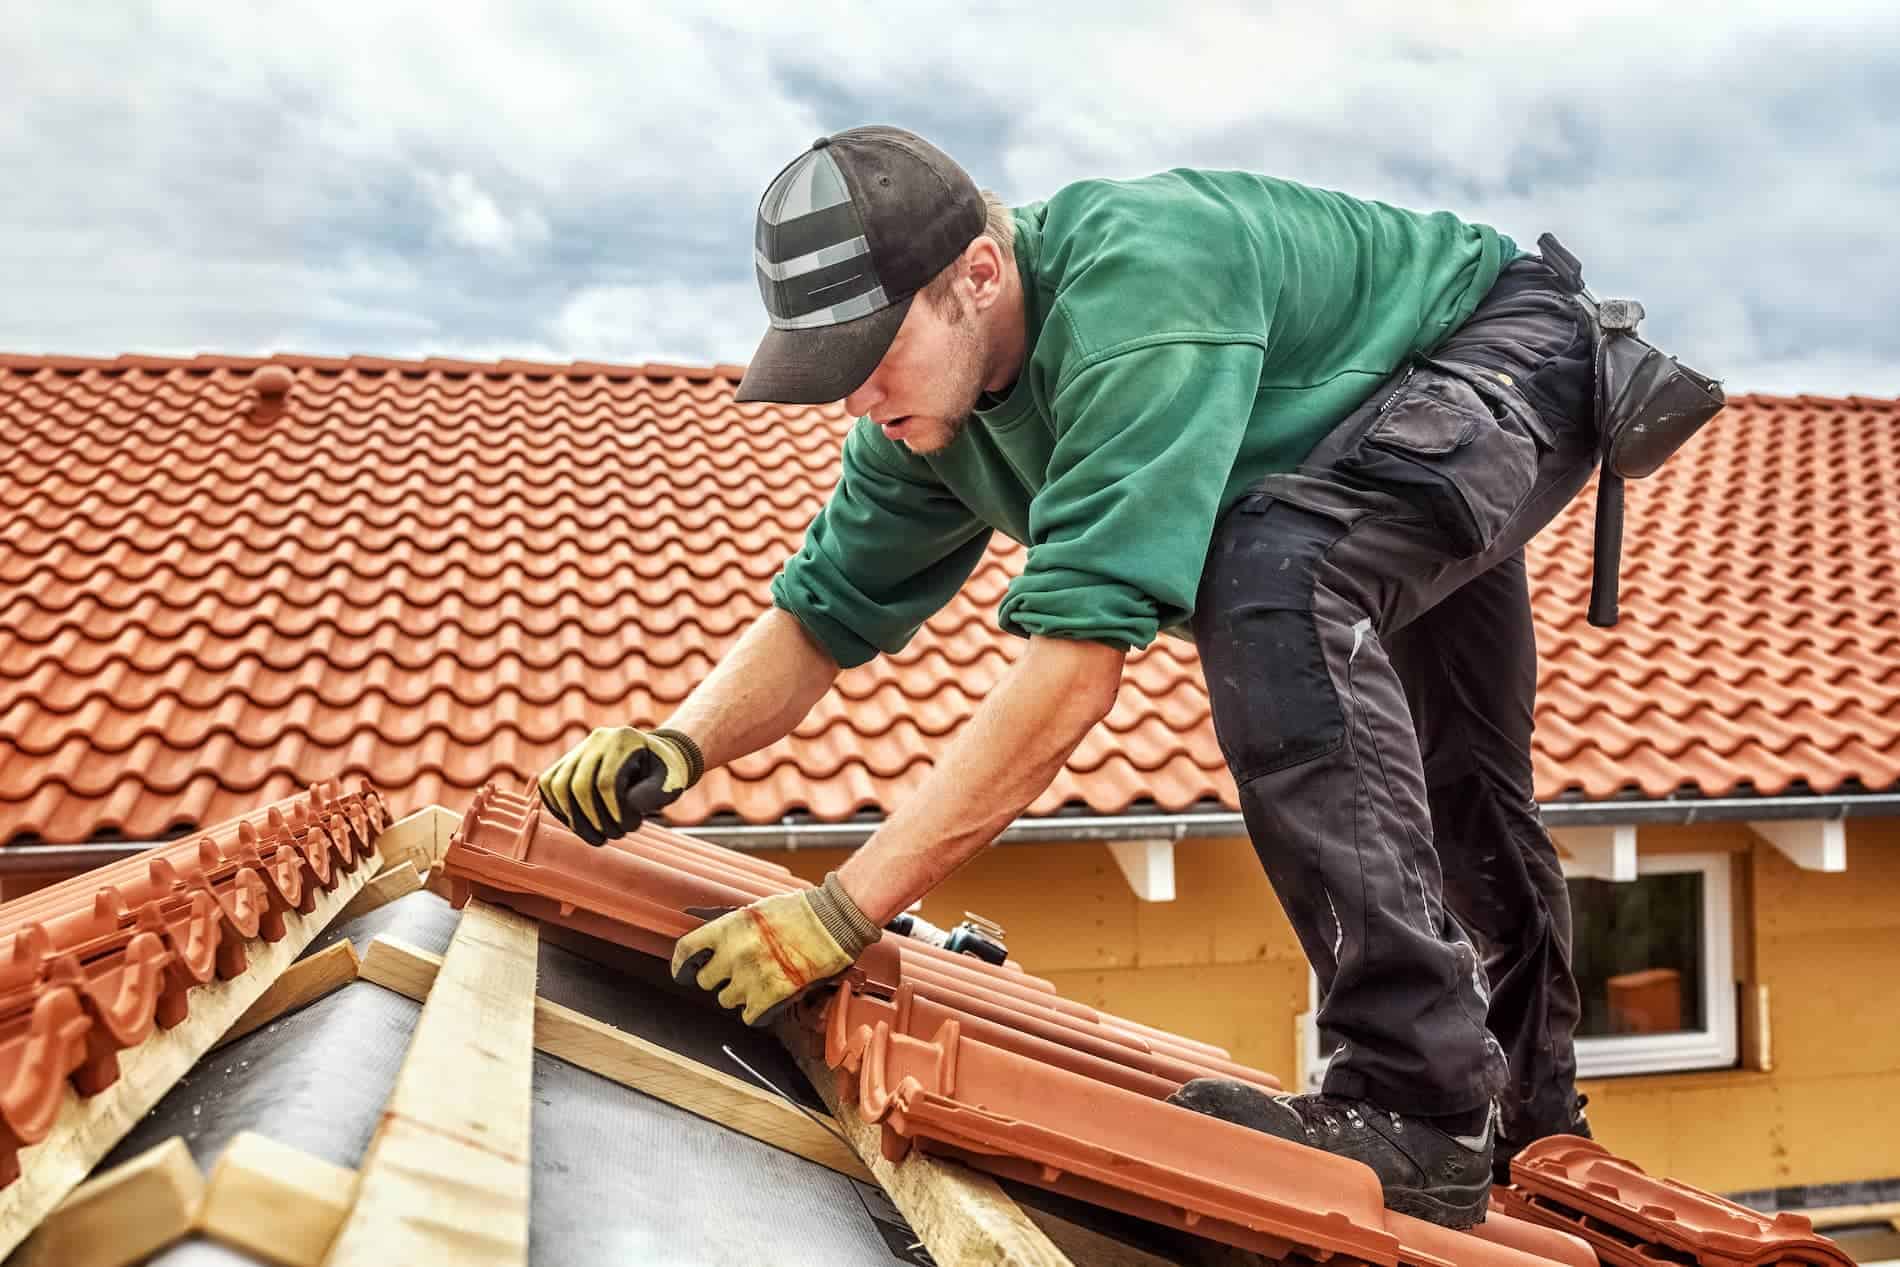
We'll Repair Any Tile Roof
At Local Roofers, we specialize in repairing and fixing any type of tile roofing issue you may encounter. Whether it's a minor leak, damaged tiles, or more extensive storm damage, our experienced team is equipped to handle it all. We use top-quality materials and proven techniques to ensure your roof is restored to its best condition, providing you with peace of mind and long-lasting protection for your home.

Leak Detection & Repair
Tile Replacement
Flashing Repair
Gutter Repair
Roof Replacement
Roof Vent Repair
Chimney Repair
Skylight Repair
Roof Patching
Fascia Repair
Soffit Repair
Repairing Roof Sagging
Ridge Cap Repair
Ice Dam Removal
Underlayment Repair
Storm Damage Repair
Tile Sealing
Fix Missing Nails
Reattach Loose Tiles
Tile Roof Repair
And More!
Reliable & Honest Roofers
Choosing our roofers ensures that you receive service from experienced professionals dedicated to excellence. We use the latest tools and techniques to diagnose and solve roofing issues efficiently, saving you time and money. Whether it's a minor repair or a whole roof replacement, we use the highest quality products to get the job done right the first time. Hire us for a hassle-free, quality roofing experience you can trust.
Roof Replacement
Roof Repair
Roof Installation
Roof Inspections
Roof Cleaning
Gutters
Asphalt Shingles
Metal Roofing
Slate Roofing
Wood Shingles & Shakes
Tile Roofs
Solar Shingles
Rubber Roofing
Flat Roofing
Leak Detection & Repair
Flashing Repair
Roof Vents
Skylights
Roof Patching & Sealing
Ice Dams
And More!
How to Fix a Tile Roof
Fixing a tile roof involves several steps, depending on the extent of the damage. Here’s our process for fixing a tile roof issue.
1. Inspect the Roof
- Safety First: Use a sturdy ladder and safety gear, such as a harness and non-slip shoes. Tile roofs can be slippery, so proceed with caution.
- Identify the Damage: Look for cracked, broken, or missing tiles, as well as any signs of leaks or water damage.
2. Gather Materials and Tools
- Materials: Replacement tiles, roofing nails or screws, roofing cement, and roofing felt (if needed).
- Tools: Pry bar, hammer or screwdriver, trowel, ladder, safety harness, and chisel (optional).
3. Remove the Damaged Tile
- Lift the Surrounding Tiles: Carefully lift the tiles around the damaged one using a pry bar. Insert small wood wedges or a similar object to keep the surrounding tiles lifted while you work.
- Remove the Damaged Tile: If the tile is loose, simply slide it out. If it’s nailed or screwed down, use a hammer, screwdriver, or chisel to remove the fasteners. Be careful not to damage the surrounding tiles.
4. Inspect the Underlayment
- Check for Damage: Inspect the roofing felt or underlayment beneath the tile for any signs of damage or wear. If the underlayment is torn or deteriorated, cut out the damaged section and replace it with new roofing felt.
5. Install the Replacement Tile
- Position the New Tile: Slide the new tile into place, ensuring it aligns properly with the surrounding tiles and overlaps the tile below.
- Secure the Tile:
- Nailing: If the tile is nailed down, use roofing nails to secure it, making sure the nails are driven into the batten or underlayment without over-tightening, which could crack the tile.
- Screwing: If screws are used, drive them carefully to secure the tile.
- Adhesive: Apply roofing cement or adhesive under the tile if nails or screws are not used. Press the tile firmly into place.
6. Reposition the Surrounding Tiles
- Remove Wedges: Carefully remove any wedges or objects holding up the surrounding tiles.
- Re-seat the Tiles: Gently press down on the surrounding tiles to ensure they are properly seated and aligned.
7. Repair Cracked Tiles (if needed)
- Apply Roofing Cement: For minor cracks in tiles that are otherwise intact, you can apply a bead of roofing cement along the crack.
- Seal the Crack: Press the crack together and smooth the cement with a trowel to ensure it seals properly. This is a temporary fix and should be monitored regularly.
8. Repair or Replace Flashing
- Inspect Flashing: Check the metal flashing around chimneys, valleys, and roof edges for any signs of damage.
- Replace Flashing: If the flashing is damaged, remove it carefully and install new flashing, ensuring it is securely fastened and sealed to prevent leaks.
9. Check for Proper Ventilation
- Inspect Roof Vents: Ensure that roof vents and attic ventilation are functioning correctly to prevent moisture buildup, which can damage tiles and the roof structure.
- Repair or Replace Vents: Fix any damaged vents or ventilation components as needed.
10. Monitor After Repairs
- Check for Leaks: After completing the repairs, monitor the roof during the next rainstorm to ensure that the repairs were successful and that there are no leaks.
11. Perform Regular Maintenance
- Annual Inspection: Regularly inspect the roof to catch any potential issues early. Keeping the roof in good repair will extend its life and prevent costly damage in the future.
By following these steps, you can effectively fix a tile roof and extend its lifespan. For more extensive damage or if you're unsure of the repair process, consider hiring our professional roofing company to ensure the job is done correctly.